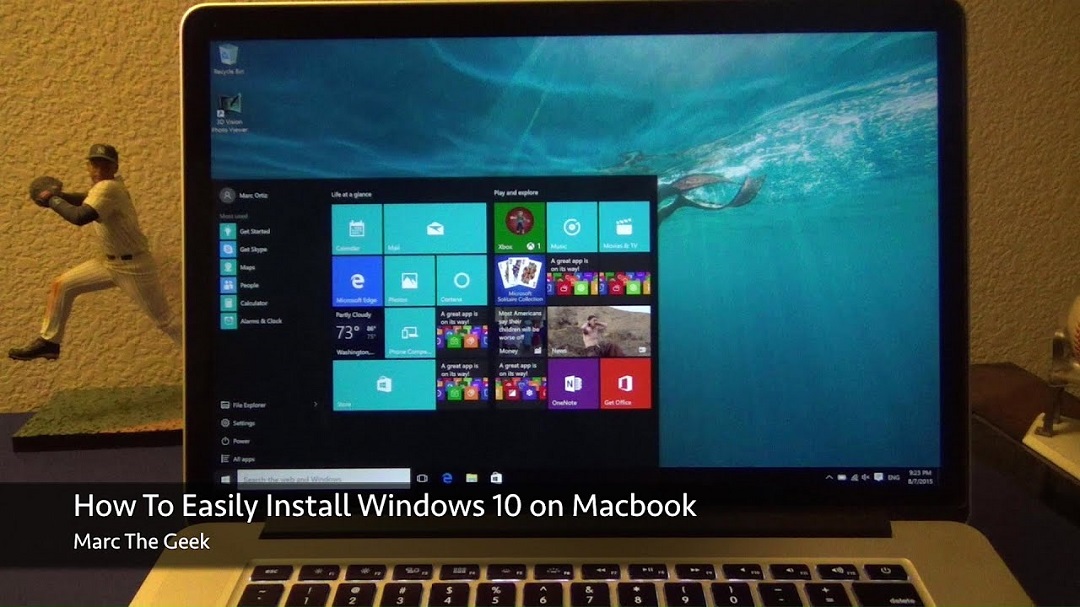
So, you’ve got a Mac, but you also need to run Windows on it? No problem! With Boot Camp, you can easily install Windows on your Mac and enjoy the best of both worlds. Let’s walk through the process step by step.
Step 1: Check System Requirements
Before diving into the installation process, make sure your Mac meets the system requirements for running Windows via Boot Camp. You’ll need an Intel-based Mac with at least 64GB of free storage space and macOS Mojave or later installed.
Step 2: Backup Your Data
Installing Windows via Boot Camp involves partitioning your Mac’s hard drive, which can potentially lead to data loss. It’s crucial to back up all your important files and documents before proceeding with the installation.
Step 3: Open Boot Camp Assistant
Boot Camp Assistant is a built-in utility on macOS that guides you through the process of installing Windows on your Mac. You can find it by searching for “Boot Camp Assistant” in Spotlight or navigating to Applications > Utilities > Boot Camp Assistant.
Step 4: Partition Your Hard Drive
Boot Camp Assistant will prompt you to create a partition for Windows. You can choose the size of the Windows partition based on your needs. Keep in mind that you’ll need at least 64GB of space for Windows, but more is recommended for optimal performance.
Step 5: Download Windows ISO
Next, you’ll need a Windows ISO file to install Windows on your Mac. You can download the official Windows 10 ISO from the Microsoft website or use a Windows installation disc if you have one.
Step 6: Install Windows
Once you have the Windows ISO file, Boot Camp Assistant will guide you through the installation process. Simply follow the on-screen instructions to select the Windows ISO file, choose the destination disk (the partition you created earlier), and complete the installation.
Step 7: Set Up Windows
After the installation is complete, your Mac will restart, and you’ll be greeted with the Windows setup wizard. Follow the prompts to customize your Windows settings, create a user account, and set up your desktop.
FAQs
Q: Can I run Windows and macOS simultaneously on my Mac?
A: Yes, with Boot Camp, you can choose to boot into either Windows or macOS when you start your Mac. However, you can’t run both operating systems simultaneously.
Q: Can I uninstall Windows from my Mac if I no longer need it?
A: Yes, you can remove the Windows partition and reclaim the space on your Mac’s hard drive using Boot Camp Assistant. Keep in mind that this will erase all data on the Windows partition, so make sure to back up any important files before proceeding.
Q: Will installing Windows via Boot Camp affect the performance of my Mac?
A: Installing Windows via Boot Camp shouldn’t significantly impact the performance of your Mac. However, running Windows applications may require more resources than macOS, so you may notice a slight decrease in performance when using Windows.
Q: Can I install Windows 11 using Boot Camp?
A: Yes, Boot Camp supports installing Windows 11 on compatible Macs. Make sure to check the system requirements for Windows 11 and ensure that your Mac meets them before proceeding with the installation.
Q: Is Boot Camp free to use?
A: Yes, Boot Camp is a free utility provided by Apple with macOS. However, you’ll need to purchase a valid license for Windows to use it on your Mac.
And there you have it – a simple guide to installing Windows on your Mac using Boot Camp. With Windows installed, you can enjoy the flexibility of running both macOS and Windows on your Mac hardware.

