Creating organized checklists in Microsoft Word not only boosts productivity but also transforms regular documents into interactive tools. Whether you’re preparing a to-do list, a survey, or managing tasks, learning how to check boxes in Word can save time and increase accuracy.
Why Use Check Boxes in Word?
Check boxes provide a visual and functional way to track progress, tick tasks, or capture feedback. They’re perfect for:
- Interactive checklists for digital use.
- Printable forms and reports for manual checking.
- Enhancing engagement in worksheets or surveys.
Types of Check Boxes in Word
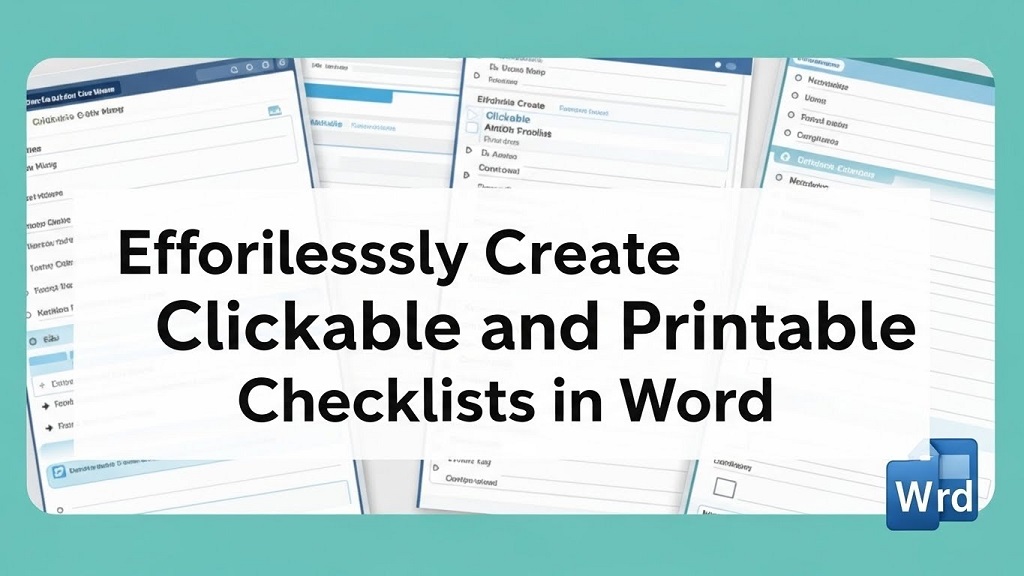
- Clickable checkboxes: Interactive elements for digital documents, allowing users to check or uncheck tasks with a click.
- Printable checkboxes: Simple, non-clickable square boxes suitable for printed documents and forms.

Adding and Inserting Check Boxes: What You Need to Know
Before we jump into the steps, it’s important to identify your intended use. For lists you want to mark on paper, printable checkboxes are best. For digital interactivity, use clickable checkboxes in Word.
How to Add a Printable Check Box in Microsoft Word
Benefits of Printable Check Boxes
Printable checkboxes are best for hand-outs, forms, and checklists you’ll use on paper. They keep your document neat and easy to follow.
Steps to Insert a Printable Check Box
- Open Your Document
Start Microsoft Word and open the document where you want to add checkboxes. - Highlight Your List
Select the text items you want to turn into a checklist. - Access the Bullets Feature
- Go to the “Home” tab.
- Click the drop-down arrow beside the “Bullets” icon.
- Define a New Bullet
- Select “Define New Bullet.”
- In the pop-up menu, choose “Symbol.”
- Pick a Check Box Symbol
- Scroll through symbols to find a square or checkbox. Commonly, you’ll find these in the “Wingdings” or “Wingdings 2” font set.
- Click “OK” to set the new bullet style.
- Apply and Format
- Your checklist items should now appear with checkboxes for easy printing.
How to Add a Clickable Checkbox in Word
Why Use Clickable Checkboxes?
Clickable checkboxes allow users to interact with your lists directly inside Word. They’re perfect for digital checklists, interactive forms, and electronic surveys.
Steps to Insert a Clickable Checkbox in Word
Enable the Developer Tab (If Not Already Visible)
- Click “File” > “Options.”
- In the “Word Options” window, select “Customize Ribbon.”
- On the right, check the box labeled “Developer,” then click “OK.”
- The “Developer” tab will now appear on your ribbon.
Insert the Checkbox
- Place your cursor where you want the checkbox.
- Go to the “Developer” tab.
- Click on the “Check Box Content Control” button (it looks like a small checkbox icon).
- An interactive checkbox will appear. Click to check/uncheck.
Customizing Clickable Checkboxes
- With the checkbox selected, click “Properties” in the Developer tab.
- You can set a custom label, change symbols for checked/unchecked states, and adjust the design as needed.
How to Add Multiple Checkboxes Quickly
If you have a list:
- For printable forms, highlight the whole list before setting the checkbox bullet.
- For clickable checkboxes, click after each item and insert another checkbox or use copy-paste to speed things up.
Tips for Formatting and Enhancing Your Checklists
- Use clear section headings with and subheadings with for best readability.
- For longer lists, add descriptive titles for each section to improve organization.
- Align text for a clean, consistent look.
- Consider color coding or font changes for visibility, but ensure symbols print clearly.
Common Use Cases for Check Boxes in Word
- To-do lists for work and home.
- Interactive forms for gathering information.
- Attendance trackers and surveys.
- Worksheets for students.
Troubleshooting: Checkboxes Not Working?
- Developer tab missing:Ensure it’s enabled in Word Options.
- Checkbox not clickable:Ensure you used the “Check Box Content Control” from the Developer tab, not just a symbol.
- Print issues:Print a test page to confirm checkboxes appear as intended.
Frequently Asked Questions
1. What’s the easiest way to add a checkbox in Word?
Use the Bullets menu for printable checkboxes, or the Developer tab for clickable checkboxes.
2. Can I use these steps in all versions of Word?
Yes, but the Developer tab steps may look a bit different in older versions. If in doubt, check Microsoft Support for your version.
3. Can I make checkboxes that users can check in a printed form?
No, printed checkboxes are for manual marking. Only clickable checkboxes support electronic interaction.
4. Can I use checkboxes in tables or forms?
Absolutely. Simply place your cursor in any cell or form field and insert the checkbox as you would in regular text.
5. Can I change the size or color of the checkbox?
For printable symbols, you can change the font size/color. For clickable controls, use the “Properties” in the Developer tab for customization.
6. Are checkboxes available on Word for Mac?
Yes. The process is nearly identical, with slight differences in ribbon/menu layout.
Call to Action
Ready to streamline your checklists and boost productivity? Start adding checkboxes to your Word documents today—make your forms interactive and your tasks more manageable. If you found this guide helpful, share it with colleagues or leave your questions below!
Related Topics: How to unarchive messages on messenger?
Related Topics: What Does It Mean to Accept a Friend on Snapchat?